ebenzunlimited
Moderator
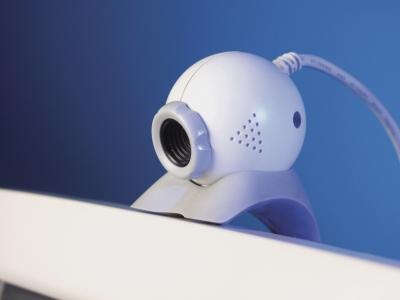
Do-it-yourself home surveillance systems range from a simple webcam pointed at the front door to full-blown networks with control servers, remote access, dedicated smartphone apps and real-time text-messaging alerts. The hardware costs and technical know-how required vary significantly -- with basic skills and a budget of less than $200 you can build a simple webcam network accessible through a desktop computer, whereas elaborate builds can cost thousands of dollars and require rewiring and the installation of complex redundant systems. But if the goal is simple home surveillance, a low-cost, low-complexity system fits the bill perfectly.
 Instructions Identify Security Needs
1 Perform a security assessment of your home. Look for obvious entry points or strategic areas -- like hallways or staircases -- that cover the visual spaces an intruder is likely to cross.
2Determine whether you need outdoor monitoring. A webcam mounted on a post near the driveway helps you see who's approaching the house.
3 Identify what monitoring capabilities you'll need at each monitor point. Webcams range from simple and inexpensive, low-resolution monochrome cameras to high-resolution, full-sound devices. The more features you include, the higher the price: low-end webcams cost as little as $30 whereas high-end cameras can cost $100 or more. Look for a wireless Internet Protocol camera instead of a desktop webcam that requires a USB connection. Wireless IP cameras will save you from having to install excessive cabling in your home.
4 Count the number of webcams you'll want to install and check whether your existing Wi-Fi network covers all of those places. If your network can't reach every camera, either reassess your locations or invest in a Wi-Fi range extender to serve as a local repeater for your base Wi-Fi network.
Install Hardware
5 Install each webcam in the place you identified during your security audit. Make sure the camera has a clear view of the location you want to monitor, as well as easy access to an electrical outlet.
6 Set up the wireless camera to work with your Wi-Fi connection. Each device will have its own procedure for connecting, so refer to the camera's documentation for specific steps. In general, though, you'll need to pair the camera to the wireless network. Make sure your network is encrypted and protected with a strong password so that nearby hackers can't easily access your network and potentially view your camera streams.
7 Install any driver software for your cameras on the computer that will serve as the control node for your surveillance network.
Install the Software
8 Download and install monitoring software on your computer. Several dozen different apps will work on a Windows 7 machine; frequently downloaded choices include Yawcam (free), Willing Webcam ($60) and CamSurveillance ($30).
Each webcam surveillance tool includes a mixture of features, including video recording, photo snapshots, motion detection and publishing images to a Web address. Evaluate each tool to find the right mix of features and cost that meets your needs.
9 Configure the software to match the camera setup you've created.
10 Launch the application. If you've configured everything correctly, you should be able to monitor all the cameras from your computer.
Tips & Warnings
Pick from one of the two major schools of thought regarding security-camera placement: either conceal it so that intruders aren't aware they're being watched, or place it prominently as a deterrent against intrusion.
A do-it-yourself solution may be vulnerable to power failures or Internet outages. Countermeasures like battery backups or wireless 3G hotspots reduce your risk but can substantially increase your costs.